This page shows how to install VirtualDub, XviD and LAME mp3 correctly and explains the basic settings in VirtualDub.
Installing VirtualDub
This is simple:
- Get the newest version of VirtualDub from the VirtualDub download page. Experimental versions are okay! Take the 32bit version, not AMD64, to avoid problems with codecs.[1]
- Extract VirtualDub to any directory you like. I prefer something like
C:\Program Files\VirtualDub\.
Done.
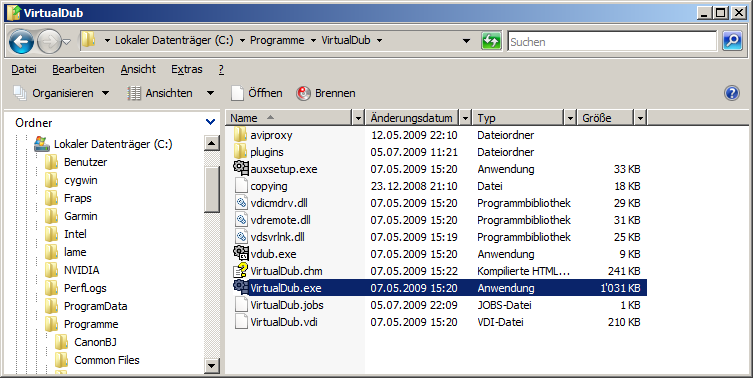
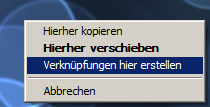
If you'd like to have a shortcut on your desktop or in your task bar, drag VirtualDub.exe
with your right mouse button to the desired place and select the option to create a link.
Installing XviD
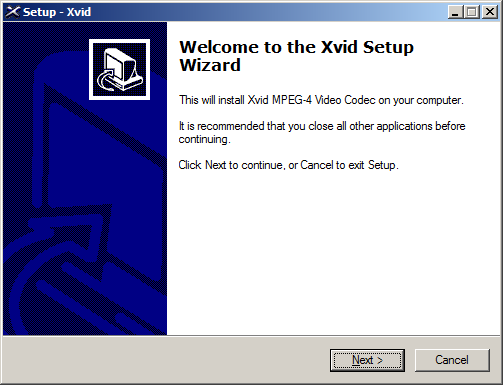
XviD is a free and good video codec. Download it at this link and run it.
Installing the LAME mp3 codec
LAME does the same as XviD, just for audio. Actually it can export mp3 files (Audio editors like Audacity can make use of it too). You won’t need to install LAME if the audio stream of your input video clips is already compressed (which it usually is, unless for screen captures from e.g. Fraps and perhaps some other special devices).
Download the LAME ACM codec (first file in the list, as of August 2010).
Installing LAME on Vista and later is a bit cumbersome. Say thanks to Microsoft for that.
Installing LAME on XP
-
- Installing LAME on XP
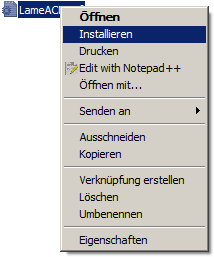
Extract the zip file to anywhere you like. Log in as administrator, right-click the extracted LameACM.inf
file and then select Install.
Installing LAME on Windows 7 and Vista 32bit and 64bit
The easy way
Extract the LAME ACM zip file anywhere you like. Then download install-lame-win7-vista.zip (Updated 2011-04-12, Run as Adminstrator fixed on Windows7) and extract it into the same directory. Run the corresponding .bat file (install-lame-windows7-vista-32bit.bat
for Win7 32bit or Vista 32bit, install-lame-windows7-vista-64bit.bat
for Win7 64bit or Vista 64bit) as Administrator by right-clicking it and selecting «Run as Administrator».
The a little less easy way
You can also extract the LAME ACM zip file to C:\lame
and then Select Start > Run … (or press Win+R) and insert the following line for 32bit:
Or for 64bit:
The result is the same — this is just the manual way.
Loading files in VirtualDub and selecting codecs
Start VirtualDub by running the VirtualDub.exe file and open a file with File > Open (or Ctrl+O).
Setting the video codec
This is really important. If you don’t do it, an input clip of 10 MB may result in a 200 MB video.
Go to Video > Compression (or Ctrl+P) to compress the output video.

Now select the XviD codec and click OK.
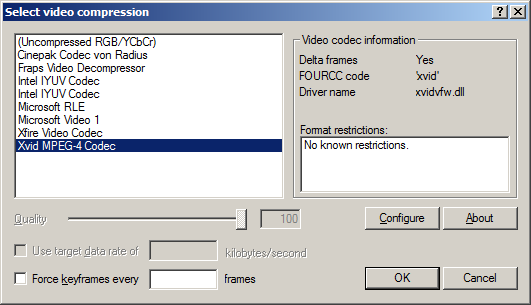
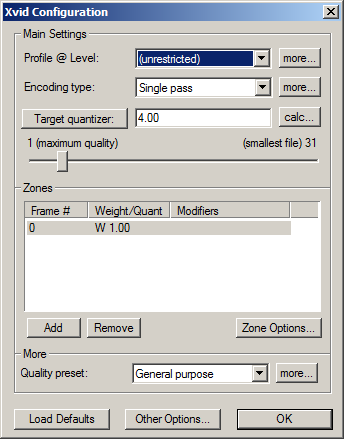
If you want you can set a custom output quality by not clicking OK in the window above but Configure. The better the quality (1), the bigger the file. The lower the quality (31), the smaller the resulting file. I usually set a value of 4 because I find it a good compromise between quality and file size.
(If XviD doesn’t appear in the list, feel free to contact me after checking that you really downloaded the 32bit version of VirtualDub and installed XviD correctly.)
Setting the audio codec
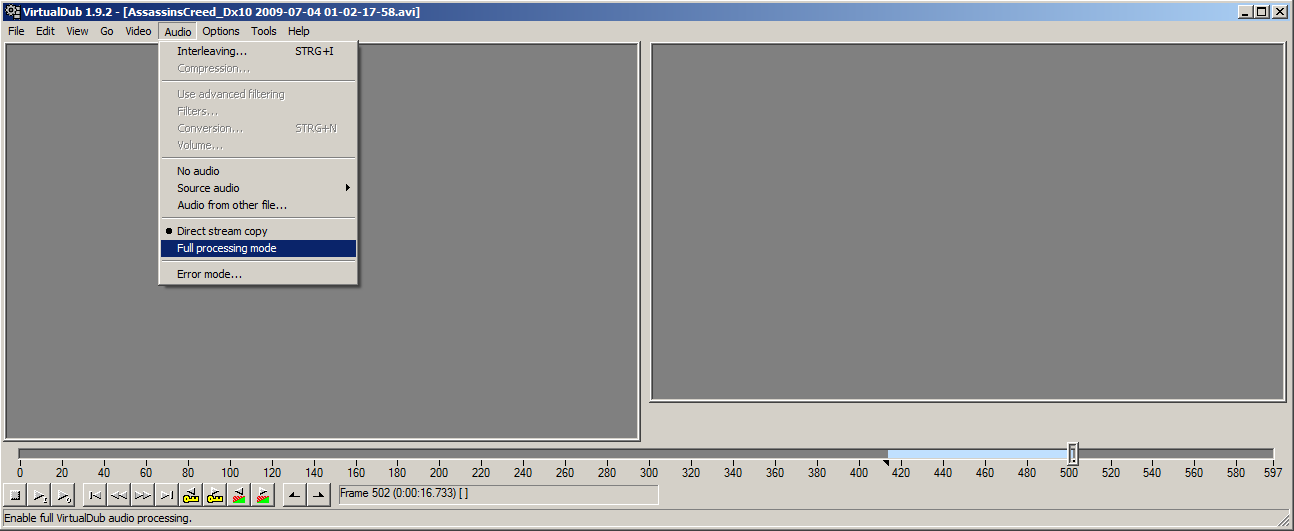
Forgetting it may lead to different results. If the audio in the source video is aready compressed (which is usually the case in video clips taken with camcorder/mobile/camera), it will stay compressed. Other files like screen captures from Fraps contain an uncompressed audio stream which would remain uncompressed and waste space.
To compress the audio stream select Audio > Full Processing Mode (otherwise the audio stream would simply be copied as is).
Now select Audio > Compression … and select the Lame MP3 codec, 192 kbps or higher. Done :)
Remarks
- ^ YES, ALSO if you’re using a 64bit Windows. XviD and Lame will not work with the 64bit version of VirtualDub!