Let’s take a look at video editing in VirtualDub now.
Keep in mind that VirtualDub is not a professional non-linear video editing program but made for linear processing of video clips. If you need a non-linear video editing program, you should take a look at the OpenSource program kdenlive.
Controls
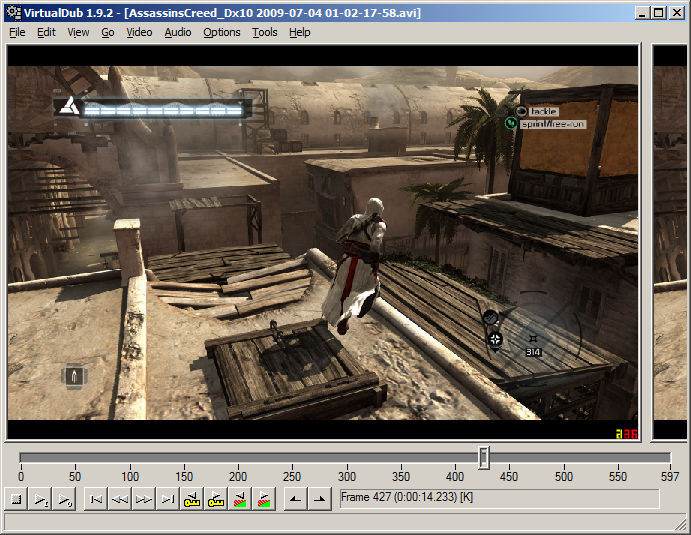
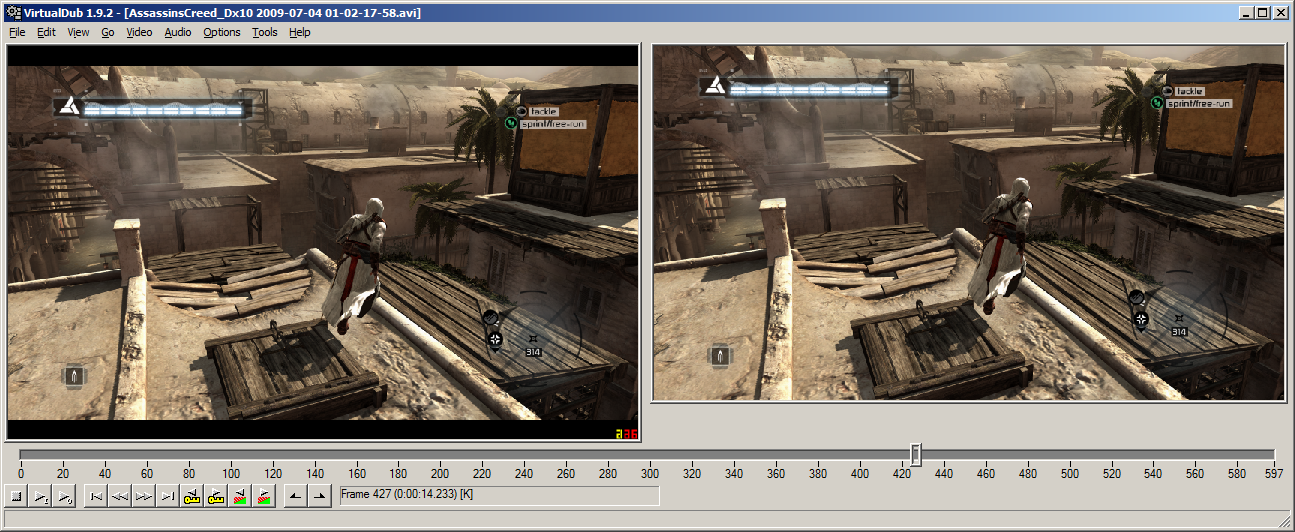
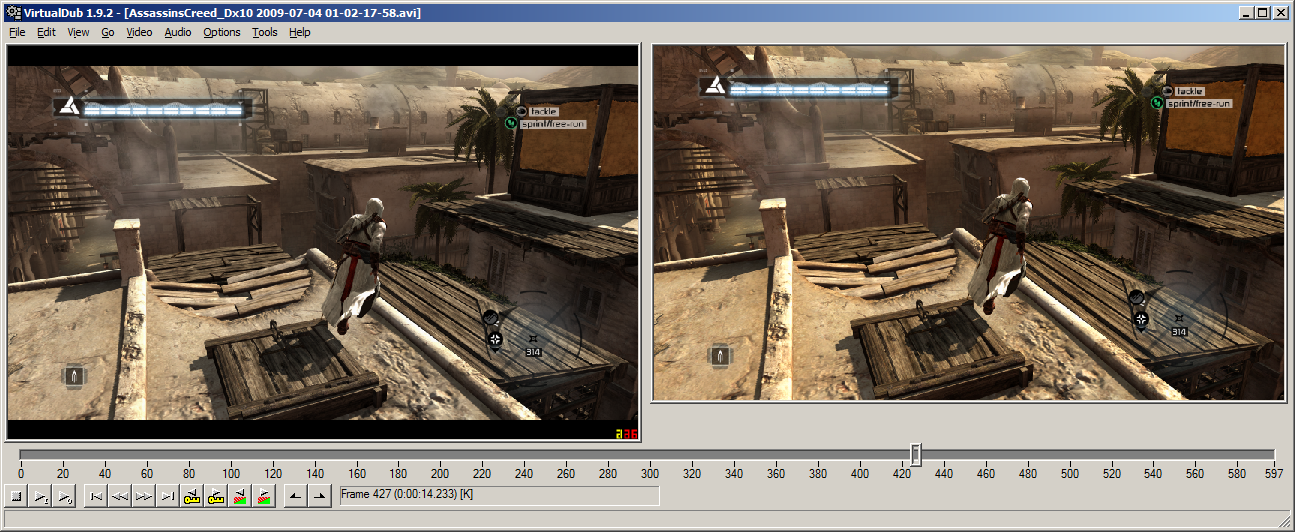
The two video frames in VirtualDub show your input video on the left and the output video (with applied filters) on the right. The slider below allows you to navigate in your video; if it is too sensitive, resize your window to increase the length of the slider. Below the current position is shown: The frame number (starts with 0) followed by the time.
Buttons:
- Stop replay
- Start replay of the source video
- Start replay of the output video (also stops when the selection ends). This button is very useful for it allows to preview the resulting video.
- Go to the beginning/end of the video
- Next/previous frame
- Next/previous keyframe (not important for us)
- Previous/next scene: Tries to search for a scene change (not important either)
- Selection Start/End. This is important for cutting and deleting!
1
2
3
4
5
6
7
8
9
10
Filters
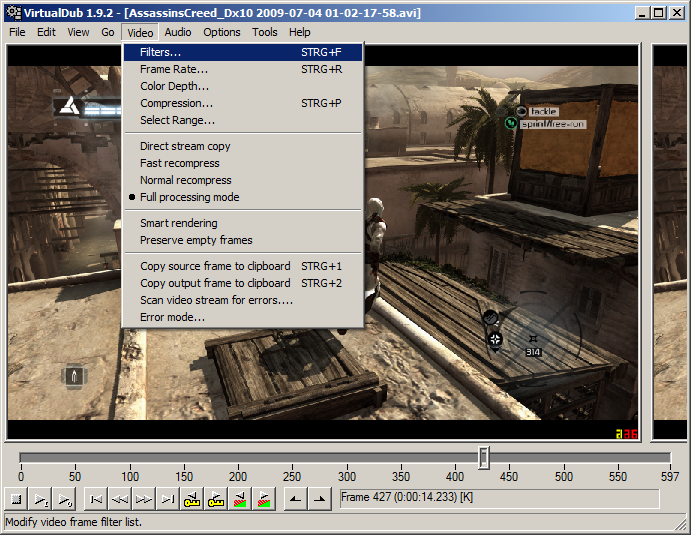
To add a filter to a video, go to Video > Filter or press Ctrl+F.
-
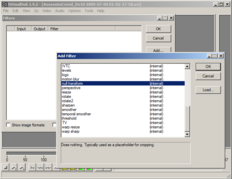
- Adding a filter
In the new window you can add, remove, and edit filters.
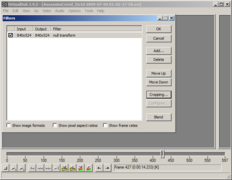
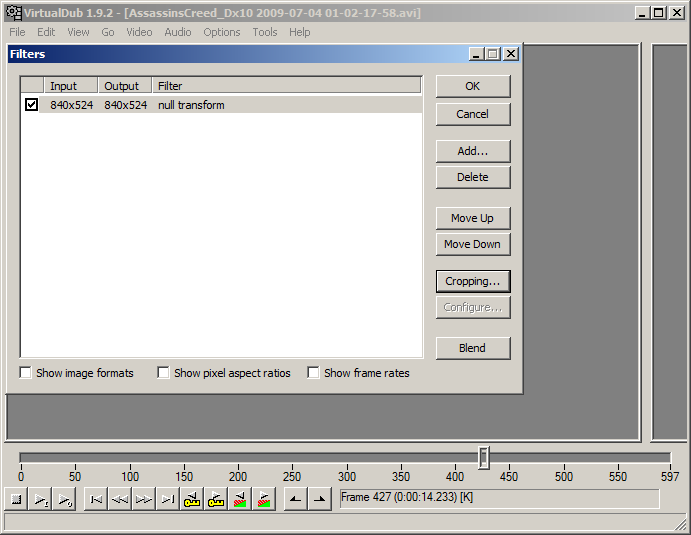
-

- Filter overview

Cropping
In this example video (it is a screen capture from Assassin’s Creed) there are black bars at the top and the bottom of the video. They should not be in the final video. So let’s add the null transform video.
-
- null transform filter
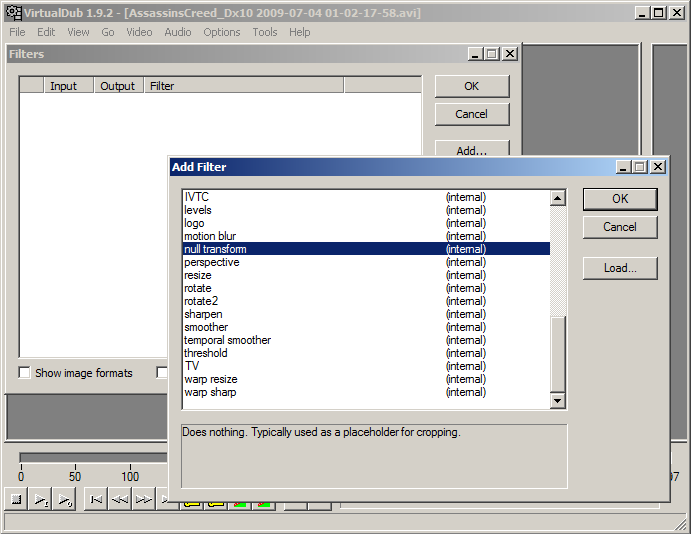
It actually doesn’t do anything, as the description already says, but will allow us to crop a video. Click «Cropping …» in the Filters window.
-
- Cropping filter in VirtualDub
Now you can enter the number of pixels to crop from each side of the video. The dimension of the resulting video will change; you can see the new dimension at the top left in the window (840×472).
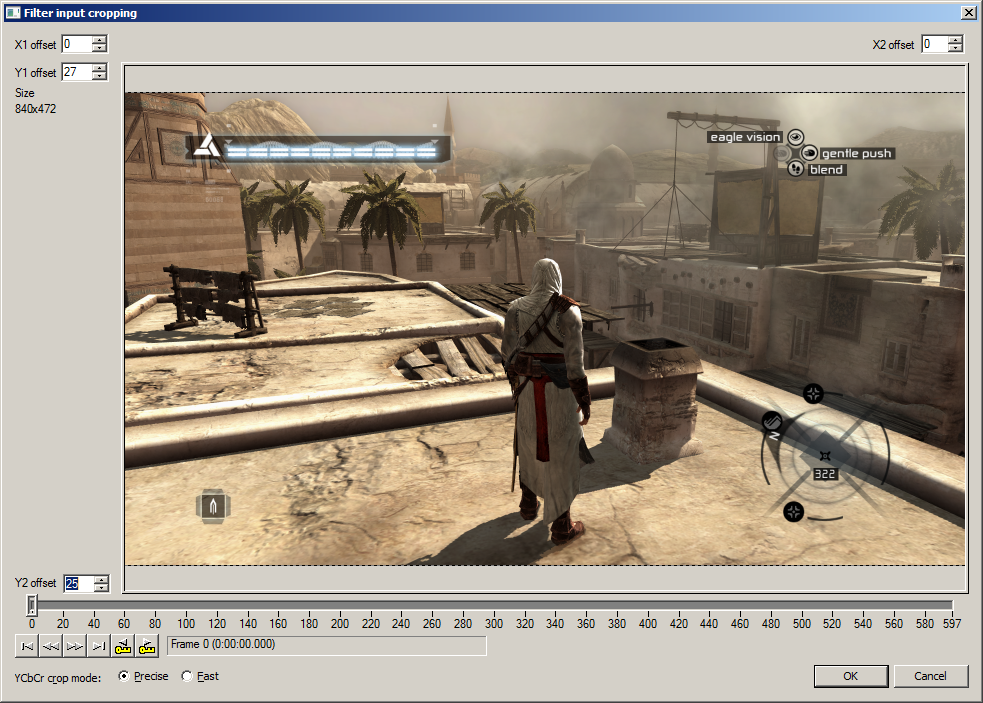
Here is how the current result will look like:
HSV Adjusting
-
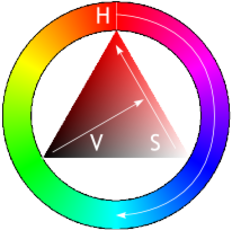
- HSV: Adjusting hue causes red to become blue, blue becomes green, green becomes orange and so on. All colours will be shifted. Adjusting saduration is clear. Value adjusts the brightness.
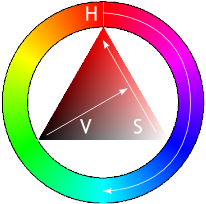
The filter called @@HSV Adjust@@ is useful, but also dangerous if not used correctly. It works in the HSV color space. HSV stands for hue, saturation, and value.
Hue changes all colours in the video clip. Saturation changes the saturation; it can be decreased until you’ve got a b/w image, or increased if you want to have a more colorful image. Value changes the overall brightness Increasing it also causes black to become grey (That is not what we want – see later).
After setting HSV to about 135 % the clip already looks a little more lively. Be careful, too high values might make the video look kitschy.
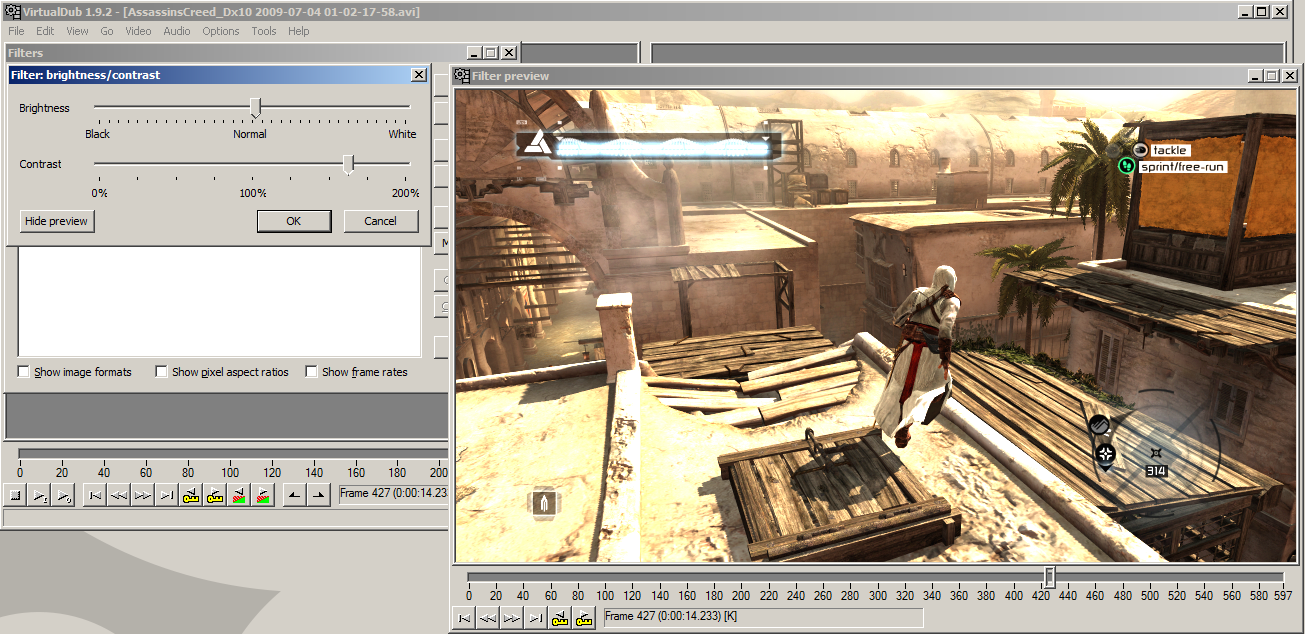
Brightness/Contrast
The next useful color filter. Brightness makes the image lighter or darker, but in opposition to adjusting Value in HSV the luminance of light parts is increased stronger than dark parts’ (so it doesn’t look as linear as adjusting Value, which looks like spraying White over the whole image). Contrast is even more interesting, it makes the image look more brilliant if used carefully. The images in the linked Wikipedia article show this very well.
I want the example video to look hotter (it’s acting in Damascus). So I’ll increase the contrast:
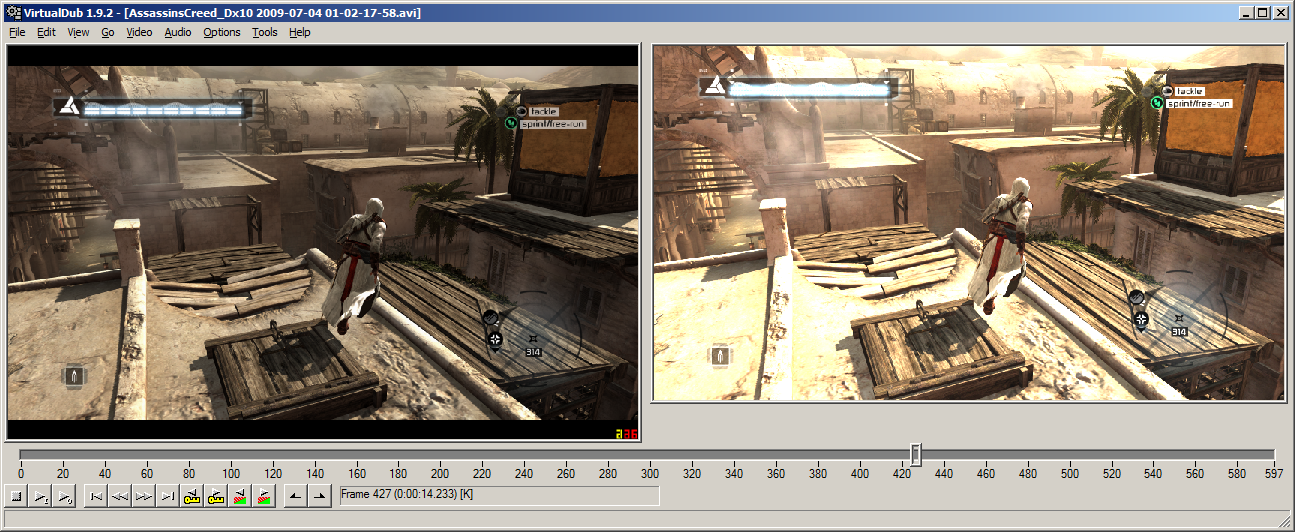
Let us again take a look at the difference between the original video and the resulting video.
Levels adjustment
-
- Levels adjustment example.

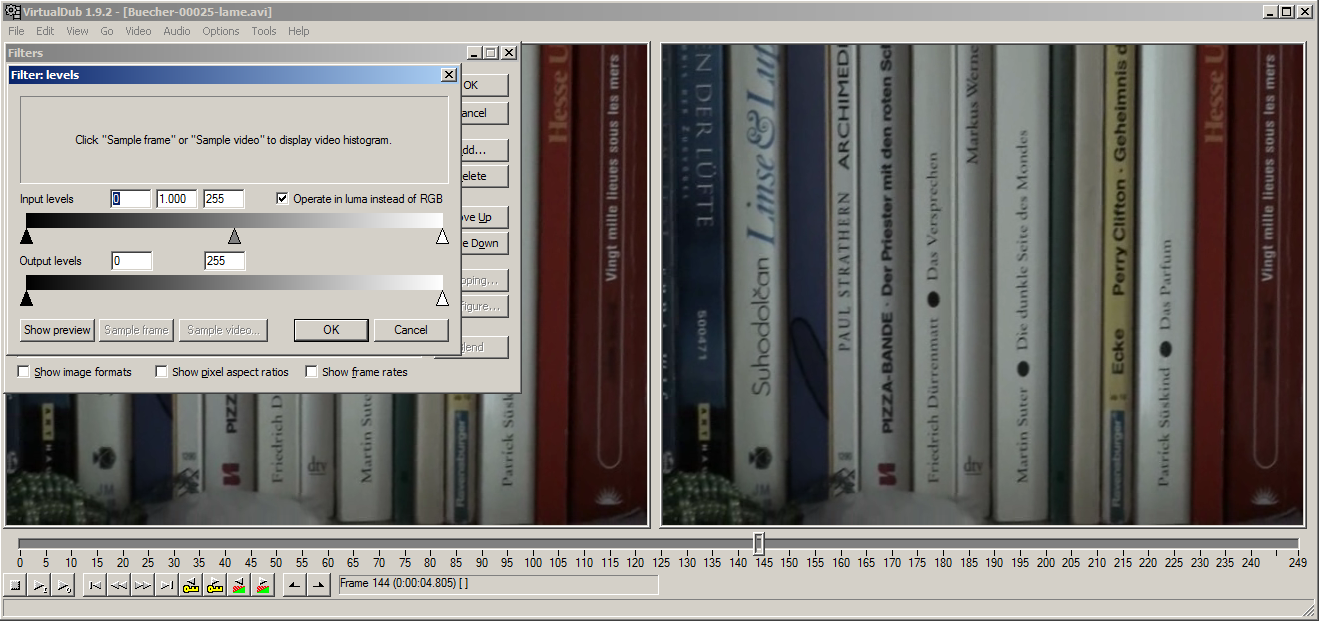
This filter is about Histogram Equalization (again, the images in the Wikipedia article are very descriptive). Basically it allows to correct the exposition.
After adding the filter you’re at first «blind» because the histogram is missing.
Click «Show preview» and navigate to a representative frame (A white wall isn’t: It should be a frame showing different luminance leves.), then click «Sample frame» to get its histogram. In my example clip this looks as follows:
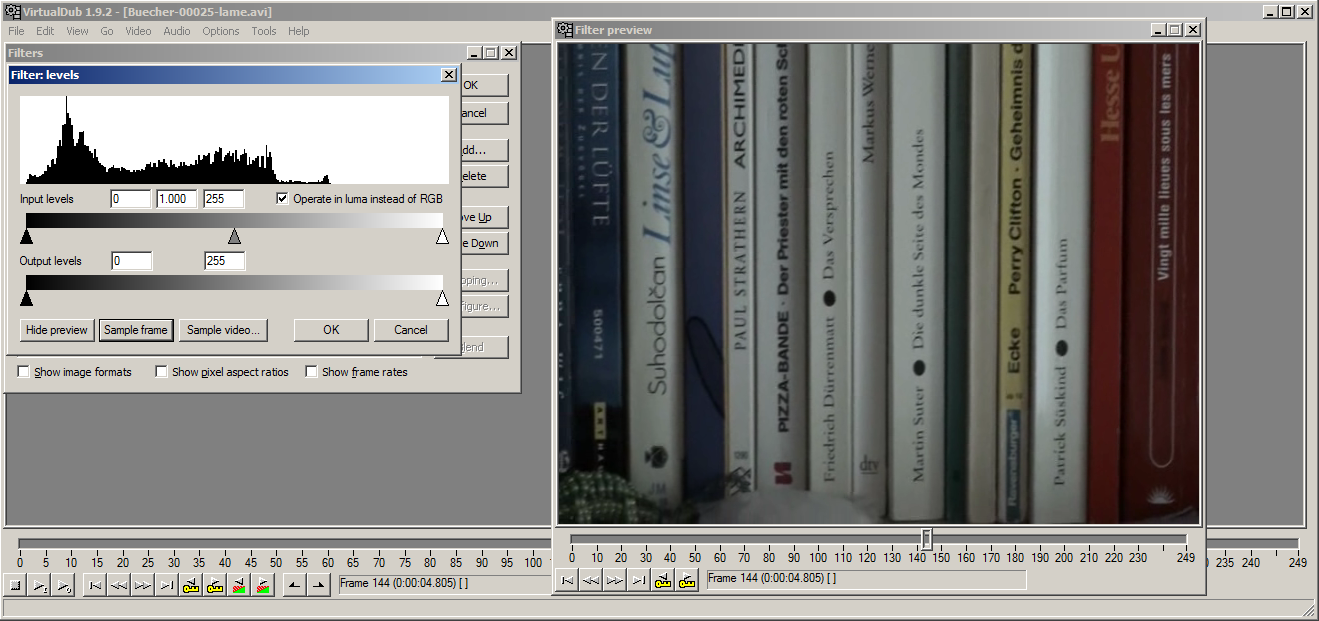
You can also take a histogram over the whole video clip or some keyframes by clicking «Sample video», but often a sample frame is enough.
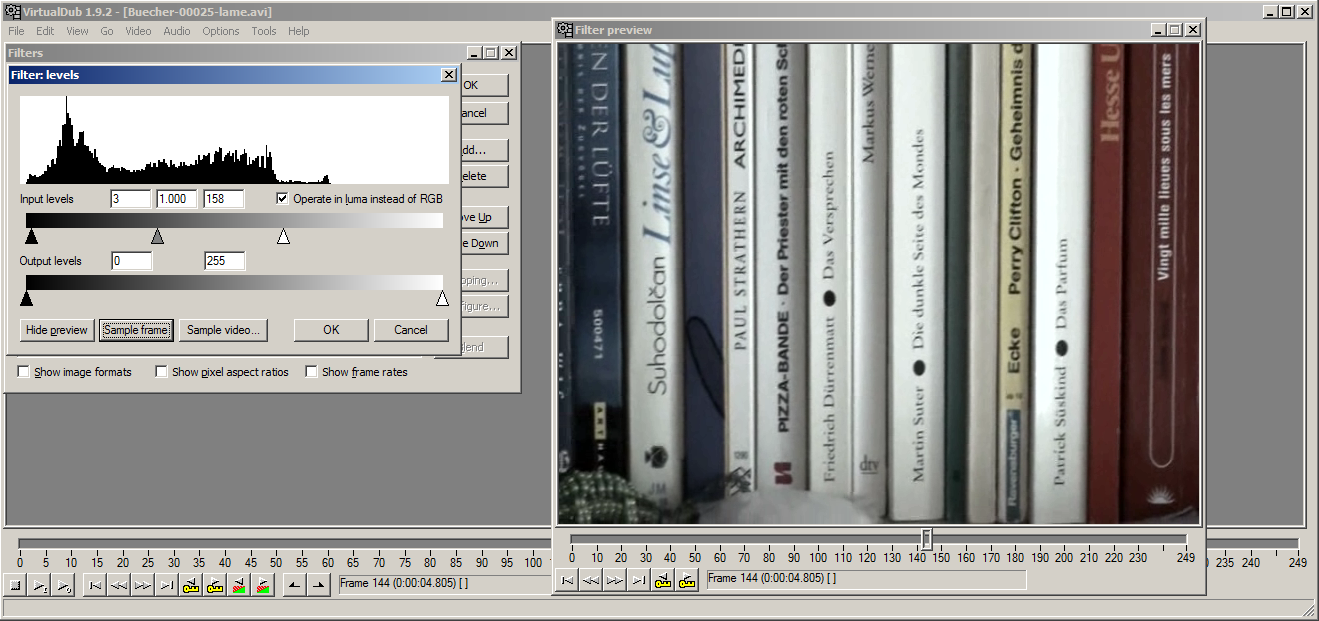
The histogram shows that there actually isn’t any white but only about 30 % grey (on the book cover of «Das Parfüm»). By moving the white slider of the Input Levels below the right end of the histogram the 30 % grey will become white in the resulting video. In this example clip I’ll draw it even farther so that also the other book covers look white in the preview (I know that they actually are white). The same thing can be done with black. The grey slider adjusts the interpolation curve; play around to see the effect.
Let’s compare the images.
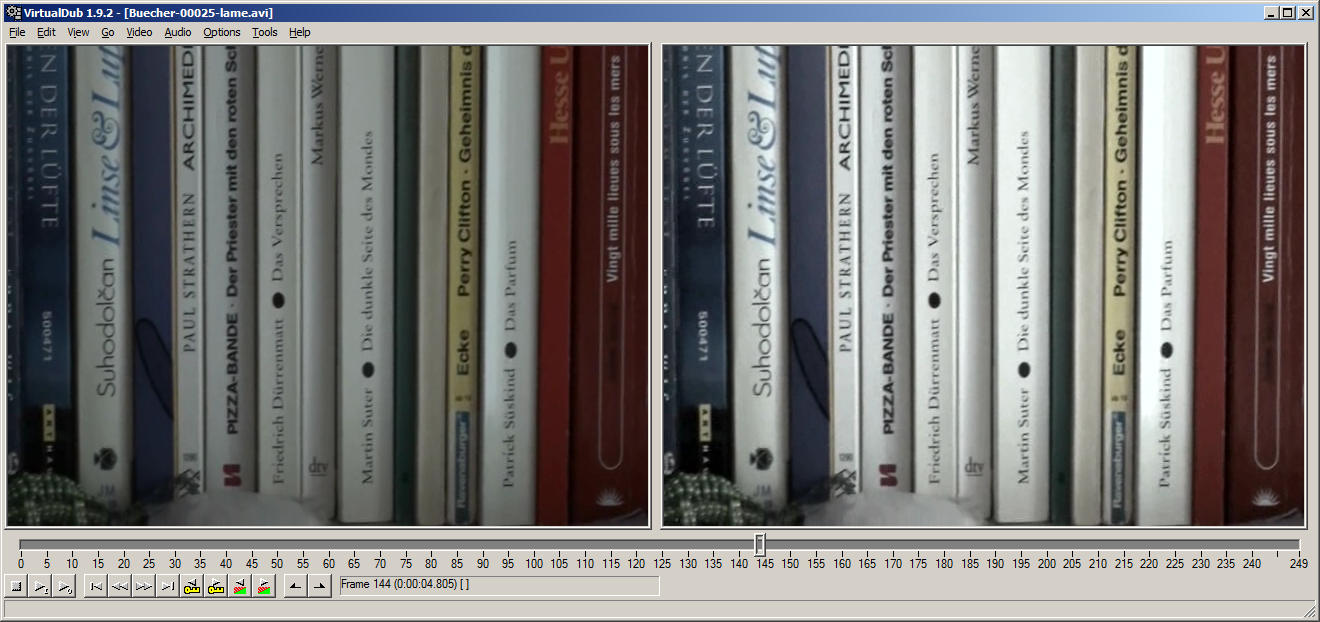
Much better, isn’t it?
Hint
As you may have noticed, all sample clips I've used here look rather greyish. This is not because I want the thumbnails to look boring but because there was not enough light available. If you take videos (or photos) under good light conditions (sunshine, for example) you usually do not have to correct levels. Let’s take a look at an example: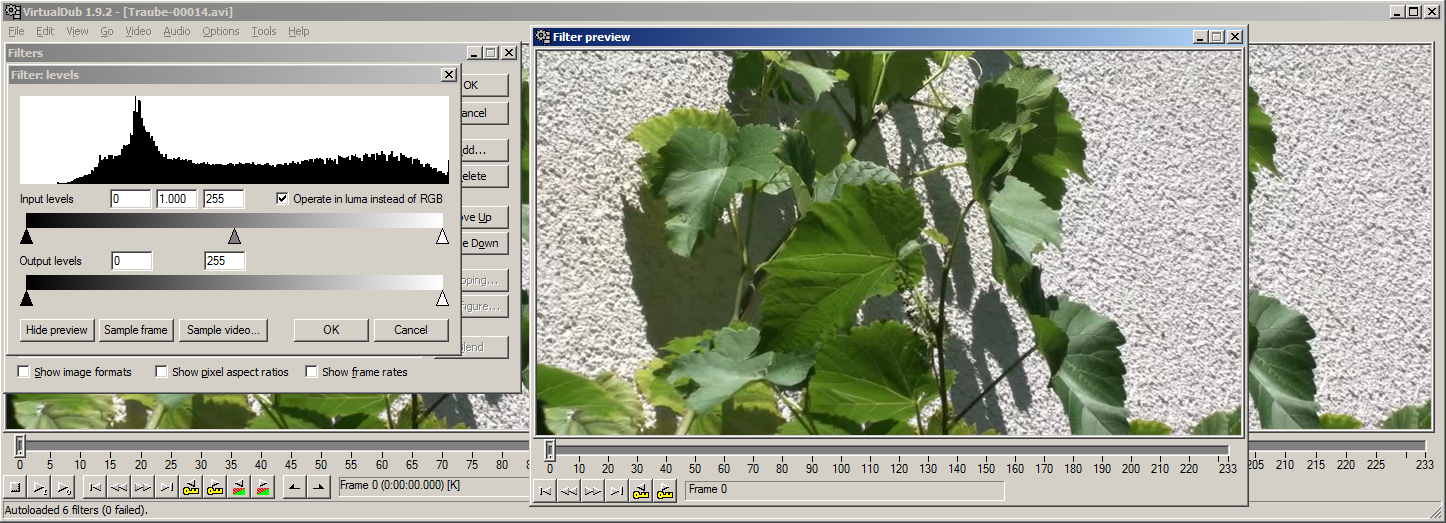
It doesn’t hurt that there is no full black (would be at the very left of the input levels graph) in the video, because in reality there wasn’t any either. (Imagine taking a video of a white sheet of paper) So the best way to get a video with luscious colours is to ensure there is enough light.
Cut and delete
… is possible too. As with all other actions, this won’t change the original video, only the result!
Deleting
Deleting is done by moving the slider to the left end of the section you want to remove, clicking the Selection Start button (or pressing Home), navigating to the right end of the section, and clicking the Selection End button.
-
- Deleting 231 of 249 frames
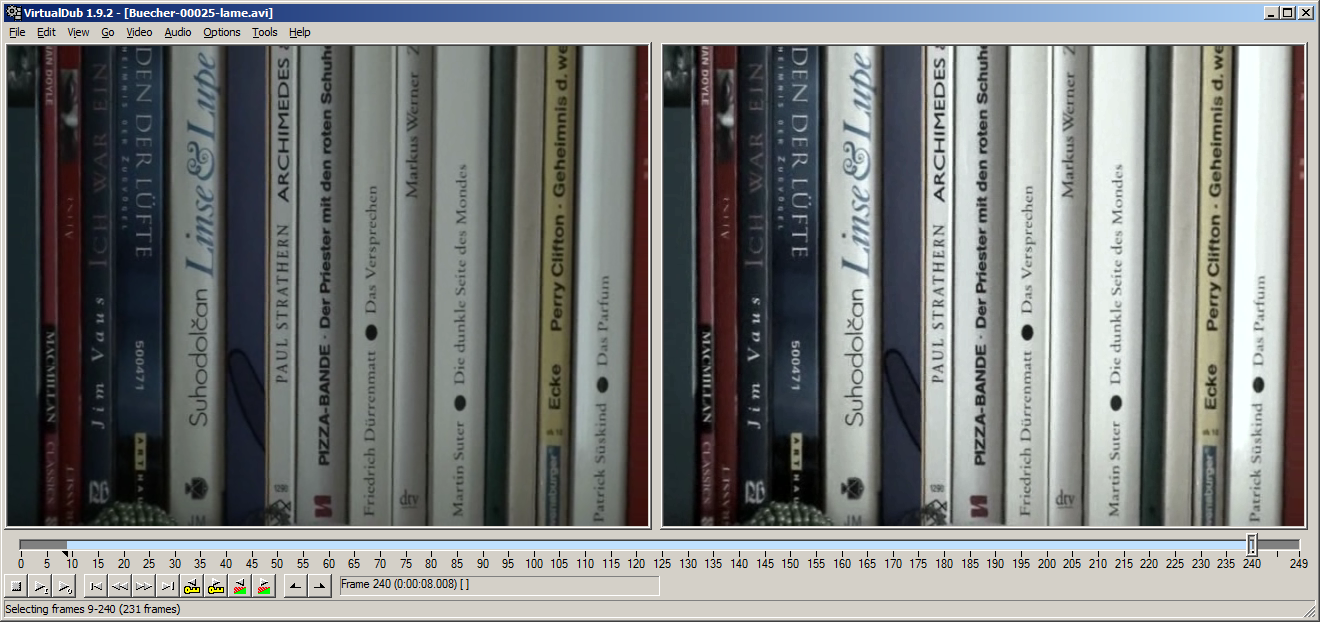
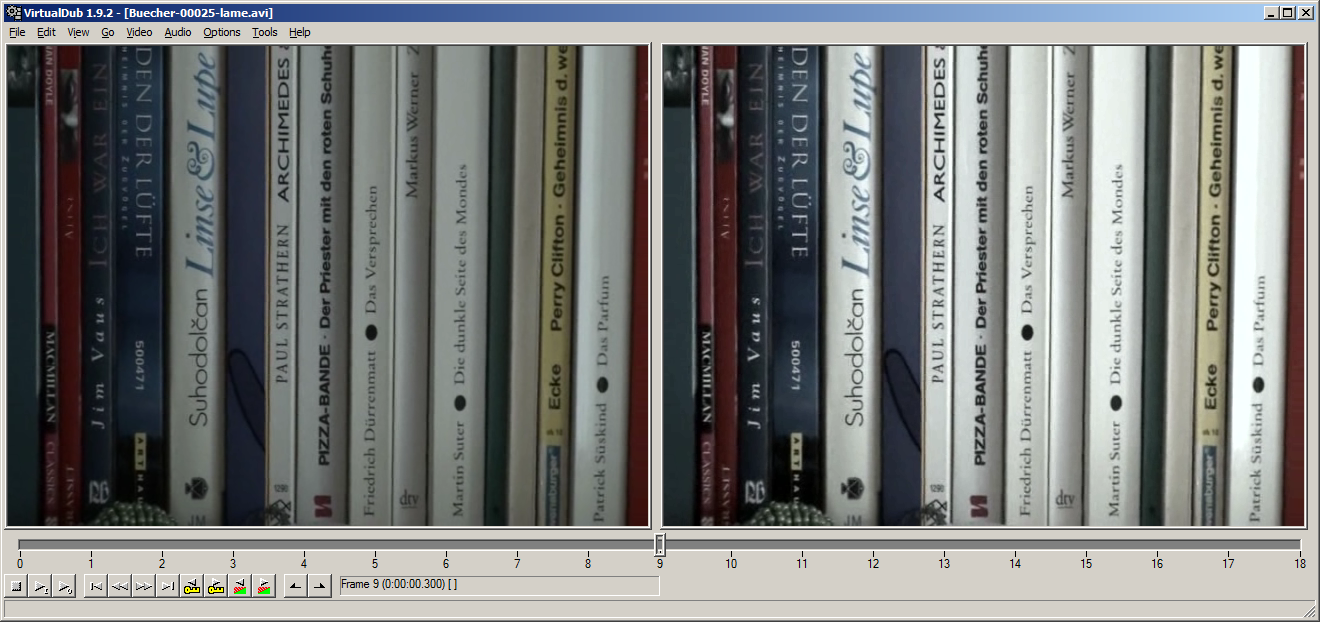
Now press Delete (or Edit > Delete). The selection has gone, now the clip length has decreased to 18 frames.
Cutting
Even simpler. If you want your output video to start at frame 20 and end at frame 200, set a selection starting at 20 and ending at 200. That’s all.
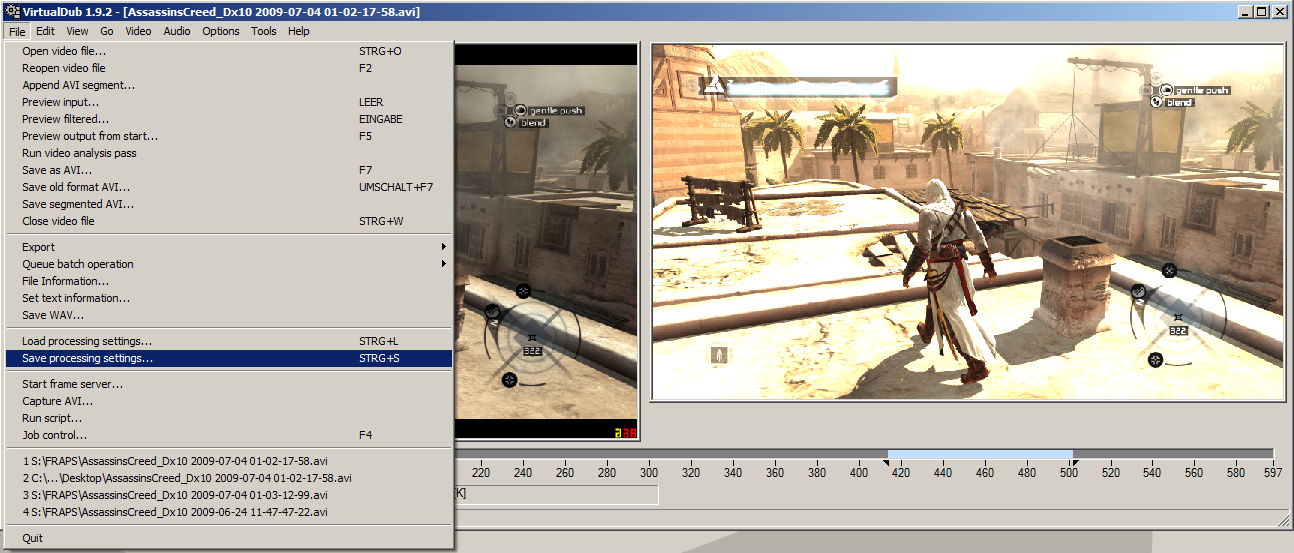
Saving settings
If you’ve got some videos where you always need to do the same thing (example: All my videos captured in Assassin’s Creed need to be cropped) you can save the processing settings (includes audio/video compression and filters). Go to File > Save processing settings to save your settings. Loading is done via File > Load processing settings.
-

- Saving processing settings